I coordinate our builds from framing through completion, so the frame is the stage of the job I know best. It is also the stage where the drawings stop being lines and turn into wood, and with exposed timber it is the part of the structure you never cover up. That makes the joints worth understanding before anyone cuts one.
What timber frame joints have to do
In a stick-built house, hundreds of small studs, joists and rafters share the load and nails hold them together. A timber frame does the same job with a few dozen large posts and beams, so each connection carries far more of the house. The joints have three jobs: carry the weight of the roof and floors down to the foundation, keep the frame square when the wind pushes on it, and keep doing both while the timbers dry and shrink around them.
Traditionally all three are done with the wood itself. One timber is cut to a tongue, the other is cut with a pocket to receive it, and a wooden peg is driven through both. Many modern frames mix that kind of cut joinery with steel connectors or concealed fasteners. Which a frame uses at each connection is an engineering decision, and it belongs on the drawings rather than being settled on site.
The mortise and tenon, and the peg through it
Nearly every traditional joint is a variation on one idea. The mortise is a rectangular pocket cut into one timber. The tenon is the tongue on the end of the other, cut to fit it. Slide them together, bore through both, drive a hardwood peg, and the joint resists being pulled apart as well as pushed together.
Two other words come up on any timber frame job. The shoulder is where the timber steps down to the tenon and bears against the face of the post. The relish is the wood left on the tenon between the peg and the tenon’s end, and it is the part of the joint most likely to split if there is not enough of it.
Why the peg is meant to break first
The most useful work on how these joints behave came out of the University of Wyoming for the timber framing industry. The 1999 report Design Considerations for Mortise and Tenon Connections (Schmidt and Daniels), sponsored by the Timber Frame Business Council and published through the Timber Framers Guild’s engineering council, tested full-size pegged joints. It opens by noting that the design of these connections was then beyond the scope of building codes, including the U.S. National Design Specification for Wood Construction.
The researchers set out to find how much wood has to surround each peg so that the peg, not the timber, is what gives way under overload. They chose that order on purpose. A peg bends before it fails, which gives warning. A mortise that splits for want of wood along its loaded edge can fail without any, a point the 2000 follow-up report repeats.
The answer is measured in peg diameters. That follow-up, Load Duration and Seasoning Effects on Mortise and Tenon Joints (Schmidt and Scholl, 2000), gives these minimum distances from the peg to the end of the tenon:
- Douglas fir: 2 diameters
- Red or white oak: 3 diameters
- Eastern white pine: 4 diameters
- Any of them, drawbored: 1 diameter more
With a 1-inch peg in Douglas fir, that means at least 2 inches of tenon past the peg, or 3 inches if the joint is drawbored.
Drawboring: pulling the joint tight
In a drawbored joint, the peg hole through the tenon is drilled slightly closer to the shoulder than the holes through the mortise. Driving the peg pulls the tenon in and clamps the shoulder hard against the post. The 1999 report describes it as common practice: it helps keep green timbers from opening at the joint once they dry, and it closes gaps in joints made from dry material.
Its two drawbored test joints used a 1/8-inch offset. Both were noticeably stiffer at first, with no real change in the load they could finally carry, and one split behind its peg before testing even began. That split is the reason drawbored tenons get the extra diameter of wood.
Braces, and why the frame needs them
Posts and beams pegged together are good at carrying weight straight down. They are much less good at stopping the frame from leaning sideways under wind, which framers call racking. Knee braces fix that. They are the short diagonal timbers between a post and a beam that turn a square corner into a triangle, and each one adds two more timber frame joints, usually tenoned and pegged at both ends.
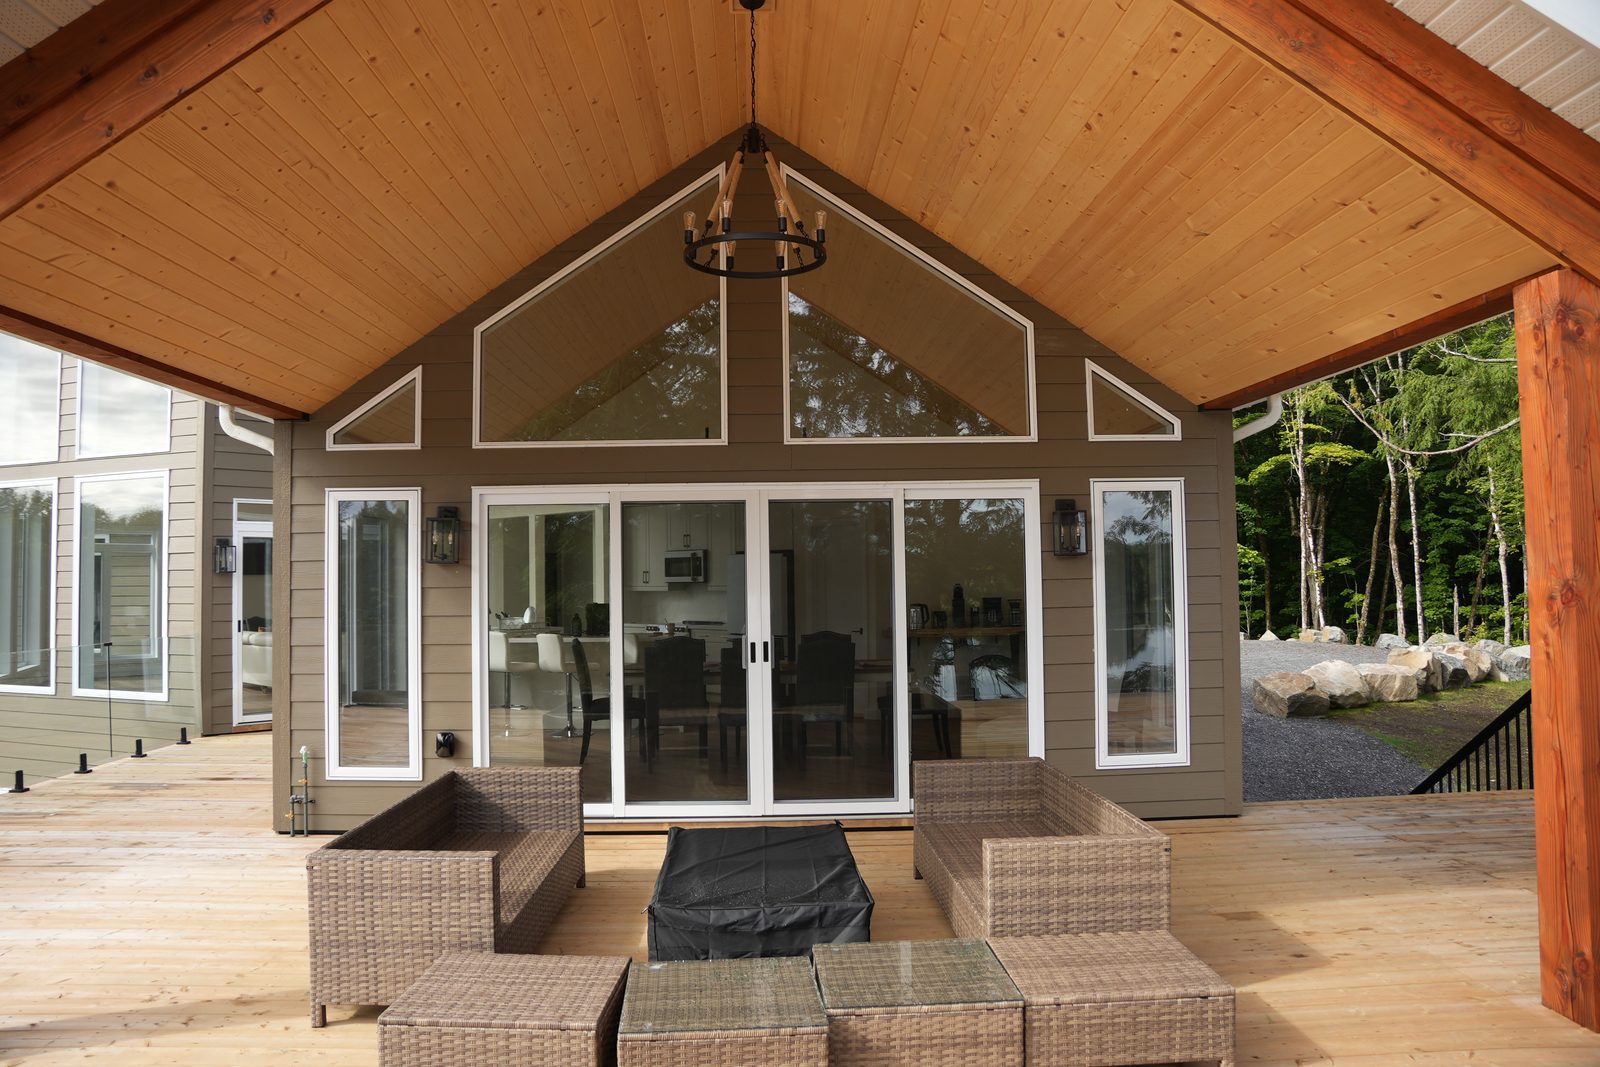
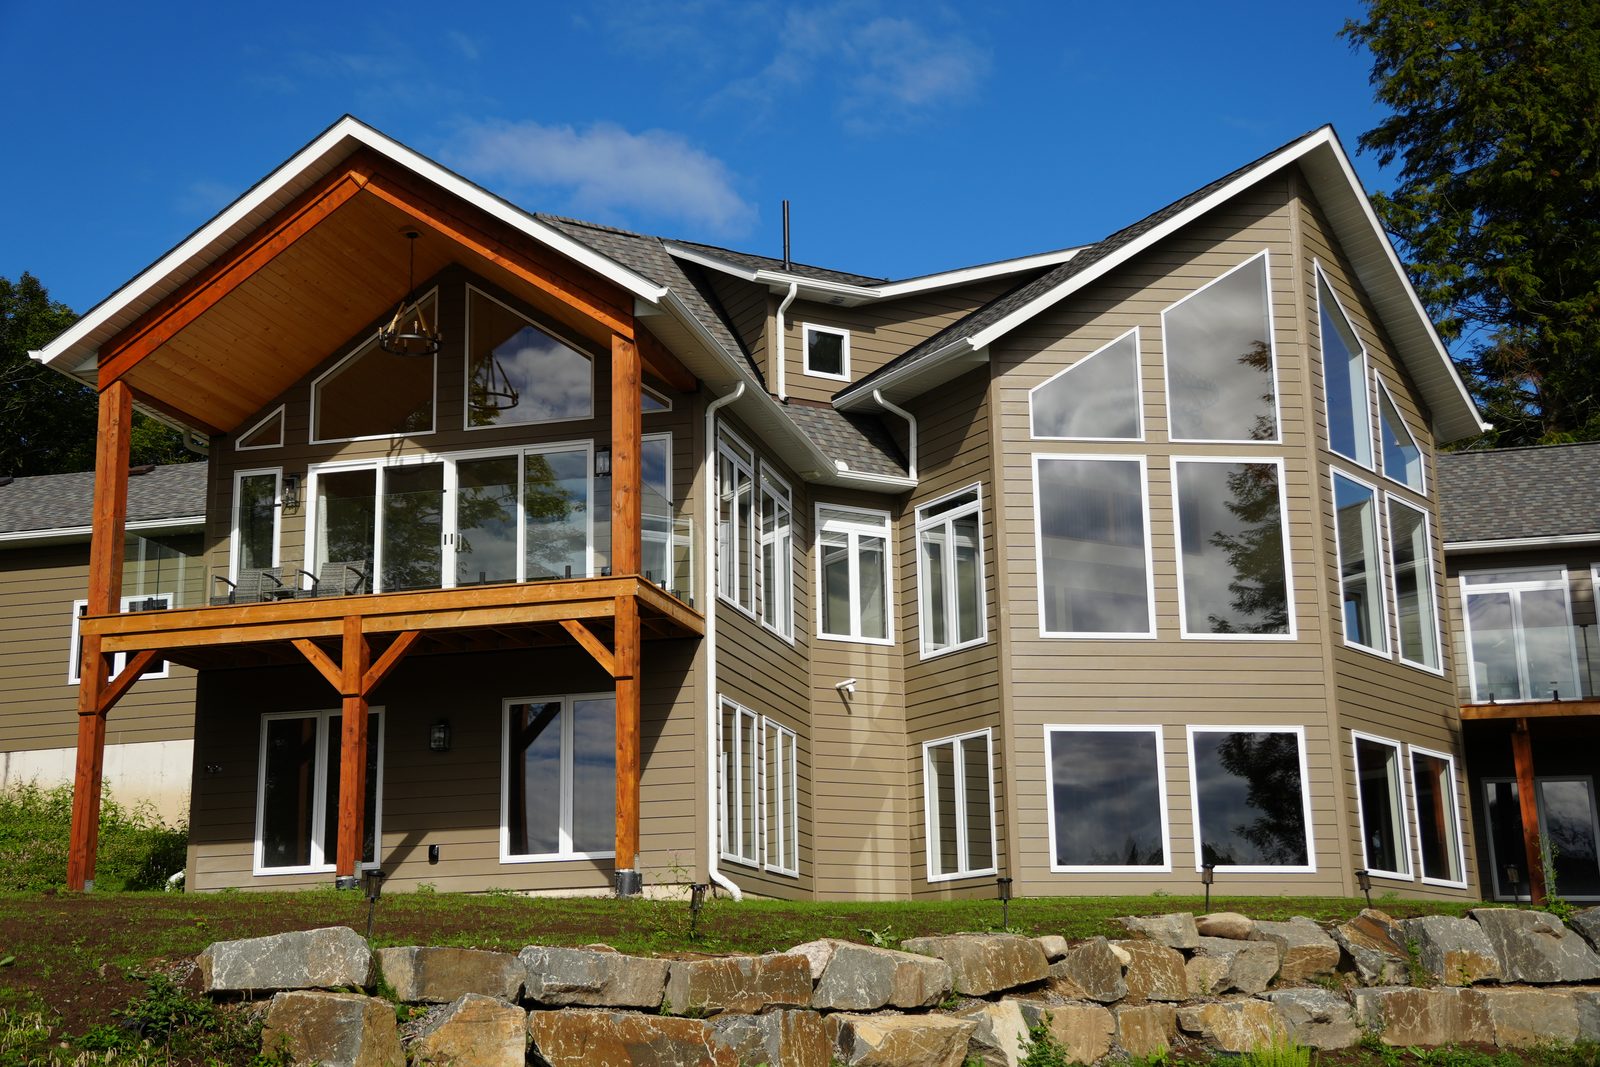
The covered deck in the photo at the top of this post is carried the same way: timber posts, a beam, and a knee brace from each post to the beam. In a true timber frame, the braces you see are part of the structure, so they cannot simply be left out where they are inconvenient. Look at where each brace lands on the drawings. A brace that crosses the top of a doorway or cuts across a window is easy to rethink on paper and expensive to argue with once the frame is cut. Some frames rely partly on the walls and roof panels to resist wind, which the Guild’s engineering council has studied for frames enclosed in structural insulated panels; how much your frame does that is something the engineer decides, not something to assume.
Scarfs, housings and the joints you notice less
The mortise and tenon does most of the work, but a full frame uses a handful of other connections, each for a particular problem:
- Scarf joints join two timbers end to end, for a beam that needs to be longer than any single timber available. They are usually the longest and most involved joints in the frame.
- Housings are shallow pockets cut so the whole end of a beam sits into the post. The beam then bears on the post across its full width, rather than hanging on the tenon alone. The Guild’s engineering council published load tests on them in 2013.
- Dovetails use a flared tenon that cannot pull straight out, which suits a joist dropped into the top of a beam. Rounded dovetail connections were tested for the council in 2008.
- Through tenons with keys or wedges pass right through the post and are locked from the far side. Their effect on a joint’s tension strength was studied for the council in 2011.
You do not need to know how to cut any of these. It helps to know they exist, because each one is a choice the designer made for a reason, and it is fair to ask what the reason was.
Green timber moves, and timber frame joints move with it
The Canadian Wood Council’s note on checking and splitting puts it plainly: large solid-sawn timbers are always dressed green, meaning surfaced while still wet, and because they are so big, their cores dry slowly.
Wood also shrinks unevenly. Along its length it barely moves at all: the American Wood Council puts shrinkage from green to oven-dry at 0.1 to 0.2 percent. Across the grain it is a different story, with roughly a 1% change in width and depth for every 4% change in moisture content. By that rule of thumb, a beam that drops 12 points in moisture content loses about 3% of its depth while its length stays put.
That mismatch is where timber frame joints earn their keep. In the 2000 Wyoming tests, white oak joints started at an average moisture content of 33%. As they dried, the tenons shrank across their width and thickness faster than the mortised timbers shrank along their length, and the tenons split. Shrinkage, not the load, was the main cause, which is why the recommended end distance for oak went up to three diameters. The same report concludes that long-term load on these joints is a serviceability concern rather than a strength one: the frame stays standing, but gaps can open at the joints.
Checking near timber frame joints
Checks are the cracks that open along a timber as its surface dries faster than its core. The Canadian Wood Council’s guidance is reassuring about most of them: minor checks confined to the surface very rarely affect strength. It adds one caution that matters for joinery. Deep checks could be significant where they occur at a point of high shear, and the ends of beams near their joints are often exactly that.
The same note says how to keep checking down: slow the drying by keeping the wood out of direct sunlight and away from artificial heat, seal the ends, and specify timber at a moisture content as close as possible to what it will settle at in use. On a winter build, that last part of the list is worth remembering when the heat goes on.
Who designs timber frame joints
The Ontario Building Code covers this directly. Article 9.4.1.1 says that structural members and their connections must either follow the prescriptive requirements of Part 9, be designed to good engineering practice such as the Canadian Wood Council’s Engineering Guide for Wood Frame Construction, or be designed to Part 4, the engineering part of the Code. Part 9’s own load rules are written for light framing: small, repetitive members no more than 610 mm apart (Article 9.4.2.1). A frame of a few large timbers is not that.
So an exposed structural frame comes with engineering, and the joints are part of it. When you look over the drawings, these are fair things to ask about:
- the species and grade of the timbers, and the moisture content they will arrive at
- which connections are cut joinery and which use steel
- peg size, and the distance from each peg to the end of its tenon
- whether the joints are drawbored
- where every brace lands against doors and windows
If what you want is the look
A lot of people who search for timber frame joints are really after a room: tall glass, wood overhead, a loft looking down. There is more than one way to get it. Our Post & Beam plan line uses decorative Douglas fir and prime painted beams within standard framing, to get the post-and-beam look without the usual cost and complexity. In that version the beams you see are not holding the house up, so there are no structural pegs to size and no tenons to dry out.

Exposed timber can also go where people see it most. One of the lakeside homes on our Our Work page has exposed timber gables, timber-post porches and a timber-truss entry. If you are weighing the two approaches, our posts on post and beam vs stick frame and the timber frame A-frame house set out the trade-offs side by side.
Whichever way you go, the framing stage has a checkpoint built into our build process: a framing walk-through, where we walk through your home together before drywall to review every detail.
Where to start
Start with the honest question: do you want the structure itself on show, or the look of it? If it is the structure, plan for engineered drawings with every joint detailed, timber specified at a moisture content close to what it will settle at in use, and a first heating season that lets the frame dry slowly. If it is the look, a Post & Beam plan is a good place to begin. Each one can be resized, reconfigured or flipped to face your view, and our design and plan customization service takes it from there.
Either way, tell us about your project and we will reply within two business days.
Frequently Asked Questions
What is the strongest timber frame joint?
There is no single strongest joint, because each one is made for a different load. A pegged mortise and tenon handles most connections. A housing gives a beam a full bearing surface on the post, and a scarf joins two timbers end to end. The engineer picks the joint and sizes it for the load at that point in the frame.
What are timber frame pegs made of?
Hardwood. The University of Wyoming tests behind most of the published guidance on pegged joints used white oak pegs, mostly 1 inch in diameter, with some 3/4-inch pegs in the later work.
Do timber frame joints loosen over time?
They can open slightly. Large timbers are dressed green, and wood shrinks about 1% across the grain for every 4% drop in moisture content, according to the American Wood Council, so gaps can appear at the shoulders as the frame dries. Drawboring is used to keep joints tight, and the 2000 Wyoming report treats long-term movement as a serviceability concern rather than a strength one.
Are timber frame joints allowed under the Ontario Building Code?
Yes. Article 9.4.1.1 allows structural members and their connections to be designed to good engineering practice or to Part 4 of the Code, so an engineered timber frame with its joints detailed on the drawings is a recognised route.
Do your Post & Beam plans use timber frame joinery?
Our Post & Beam line uses decorative Douglas fir and prime painted beams within standard framing, to get the post-and-beam look without the usual cost and complexity.