Everything else, the product, the venting, how the room will feel in February, follows from that one measurement.
I run our sites from framing through to completion, and insulation lands right in the middle of that stretch. A flat ceiling under an attic is forgiving. A sloped one is not, and most of the trouble I see with vaulted rooms was decided on paper long before anyone opened a bag of batts.
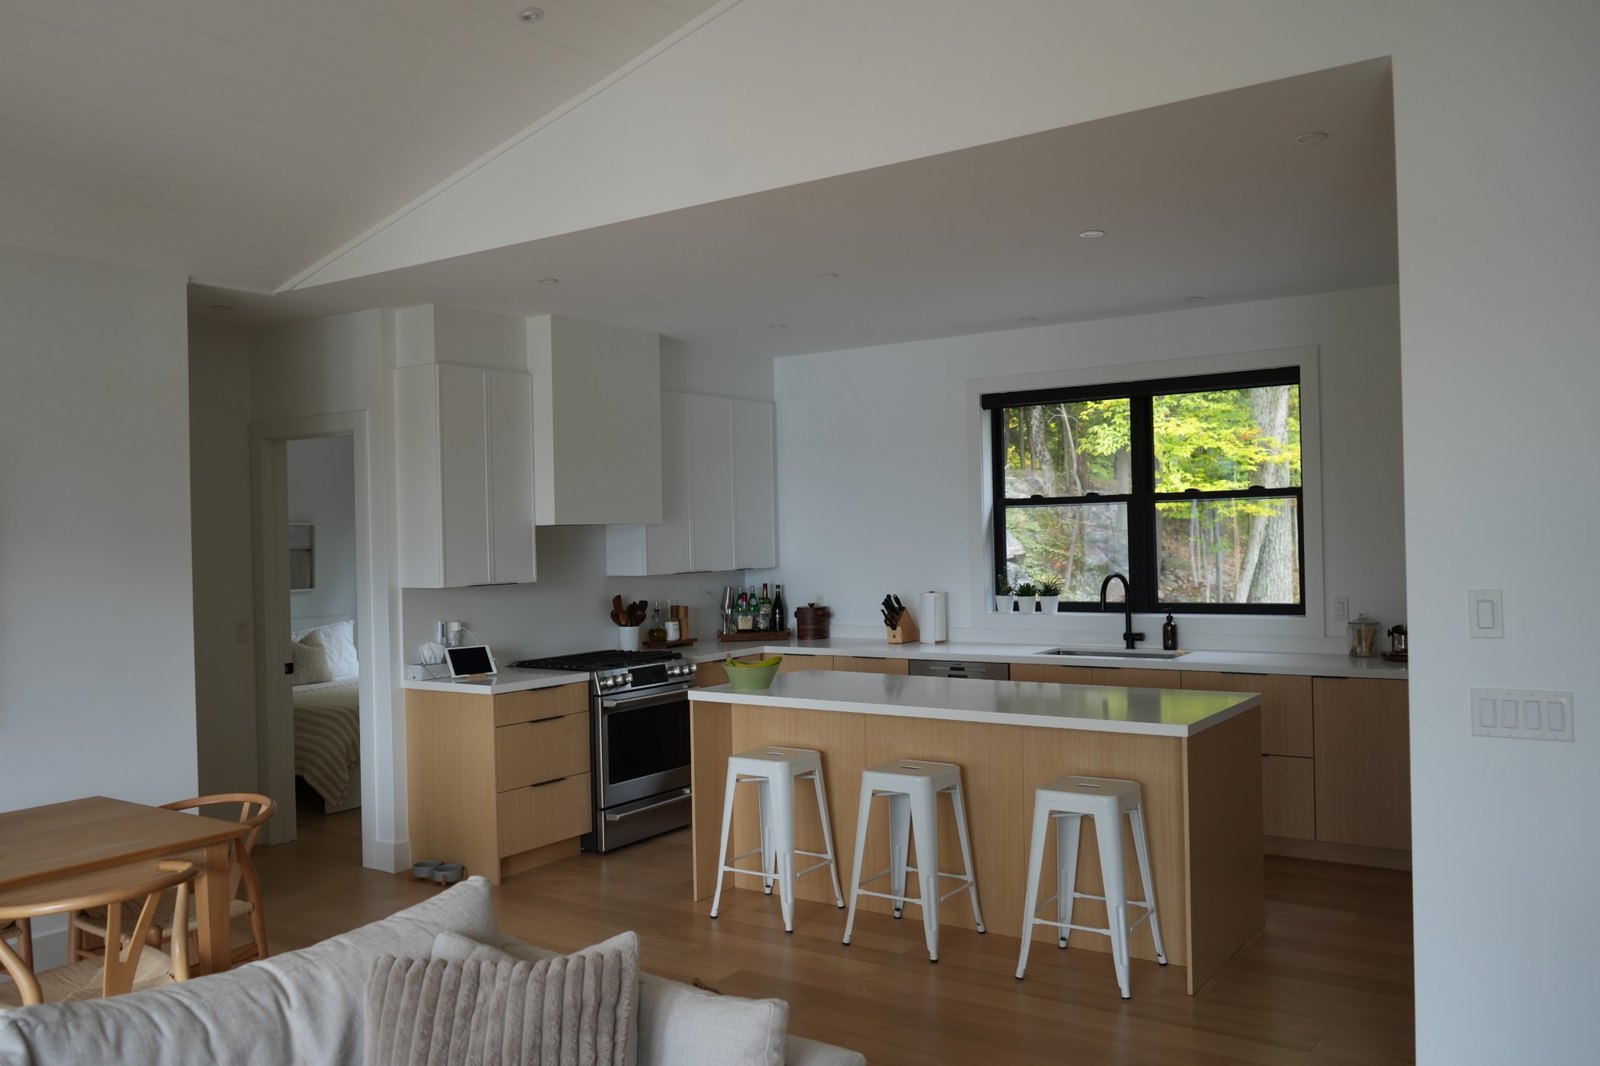
Why a sloped ceiling is harder than an attic
Over a flat ceiling, insulation has a whole attic to spread into. You can blow in as much as you like, as deep as you like, and the roof sits well above it with air moving freely underneath.
Under a vault, the drywall is fastened to the underside of the rafters and the roof sheathing is fastened to the top. The insulation has to live in the space between them, and that space is only as deep as the lumber.
The Ontario Building Code recognises the difference. Its energy standard for houses, Supplementary Standard SB-12, sets separate minimums for the two cases. In the prescriptive compliance packages (Tables 3.1.1.2.A to C), a ceiling with an attic space needs R-50 or R-60, depending on the package. A ceiling without an attic space needs R-31, nominal, in every one of them. That lower figure is not a sign that a vault matters less. It is the Code accepting that a roof cavity cannot hold what an attic can.
R-31 is still a lot of insulation to fit into a rafter bay, especially once the bay also has to carry air.
Start with the rafter depth
The Code's span tables list rafters by their actual size. A 2x10 is 38 by 235 mm, about 9¼ inches deep. A 2x12 is 38 by 286 mm, about 11¼ inches.
If the roof is vented, which is the Code's default (more on that below), the Ontario Building Code (Article 9.19.1.3) requires at least 63 mm, about 2½ inches, of clear space between the top of the insulation and the underside of the sheathing. That comes straight off the rafter depth.
- 2x10 rafters: 235 mm less 63 mm leaves 172 mm, about 6¾ inches, for insulation.
- 2x12 rafters: 286 mm less 63 mm leaves 223 mm, about 8¾ inches.
With 2x10s, R-31 usually needs help from outside the cavity. Take the thickness a product needs to reach its rated R-value, printed on the package, and compare it with the number above. If R-31 will not fit in 6¾ inches of the material you have in mind, there are only a few ways out: a deeper rafter, a continuous layer added below the rafters on the room side, a layer of rigid insulation above the roof deck, or a higher-performing material in the cavity.
Every one of those is easy to choose on a drawing and awkward to add once the roof is on. That is why the rafter size is an insulation decision as much as a structural one.
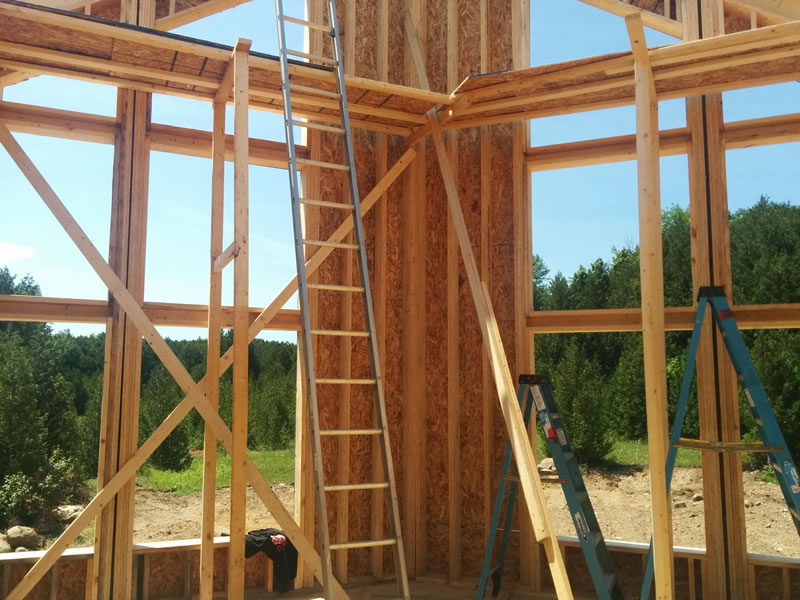
How do you insulate a vaulted ceiling with a vented roof?
The vented roof is the conventional answer, and the one the Ontario Building Code starts from. Article 9.19.1.1 says that where insulation sits between a ceiling and the underside of the roof sheathing, a space must be left between the insulation and the sheathing, with vents to the outside, unless it can be shown to be unnecessary.
In an attic, air can wander anywhere. In a vault, each rafter bay is its own narrow channel, and air has to get in at the bottom and out at the top of every one of them. The Code sets out how:
- Enough vent area. At least 1/300 of the insulated ceiling area. Where the slope is less than 1 in 6, or the roof is built with roof joists, that doubles to 1/150 (Article 9.19.1.2).
- Top and bottom. At least a quarter of the openings at the top of the space and a quarter at the bottom, so air actually moves through it.
- Every bay connected. Either each joist space is vented on its own, or the spaces are tied together with purlins of at least 38 by 38 mm laid across the top of the joists.
- Baffles at the eaves. Where the roof meets the wall, a preformed baffle holds the insulation back and keeps at least 25 mm of air space open, standing at least 50 mm above the insulation (Article 9.19.1.3).
The places this goes wrong are the places a bay gets cut off. A skylight, a dormer, a hip or a valley can each leave a run of rafter bays with no way out at the top. Those need their own path for air, and the time to find them is when the roof is drawn, not when the insulator is standing under them.

When an unvented roof makes sense
The other approach is to fill the cavity right up to the sheathing, with no air space, using a material that keeps moist indoor air from ever reaching the cold roof deck. In practice that means closed-cell spray foam applied to the underside of the deck, rigid insulation installed above it, or the two together.
It solves the depth problem neatly. There is no 63 mm channel to give up, and no bays to connect.
But read the Code's own note on venting before counting on it. Note A-9.19.1.1.(1) explains that venting is generally still required because air and vapour barriers normally have imperfections, and that the exception was written for specialized assemblies, such as some factory-built buildings, that have shown over time they are tight enough. An unvented roof is a design decision. Settle it with your designer and your building department before the permit, not on site.
If spray foam is part of the plan, the Code requires it to be installed to CAN/ULC-S705.2 (Article 9.25.2.5), which covers how it is applied as well as what it is.
The air and vapour barrier matters more here
Warm indoor air carries moisture. If it finds a way into a cold roof cavity, it condenses on the first cold surface it meets, and under a vault that surface is the roof sheathing, a few inches away.
The Code asks for two things on any insulated ceiling: an air barrier system that stops indoor air leaking into the assembly (Article 9.25.3.1), and a vapour barrier on the warm side of the insulation (Articles 9.25.4.1 and 9.25.4.3). Under an attic, a small leak has a big ventilated space to dry into. Under a vault, it goes straight into one narrow bay.
So the holes count. Every pot light, bathroom fan, speaker and ridge-beam bracket in a sloped ceiling is a hole through the barrier, into the roof. Each one has to be sealed or boxed so the barrier is continuous around it. A vaulted ceiling with a dozen pot lights is a dozen details, not one.
Once the ceiling is boarded, all of this is out of sight for the life of the house. The last good look is just before the drywall goes up. In a vaulted room, look up and check:
- a baffle at the bottom of every rafter bay, with air space showing above the insulation;
- insulation filling each bay fully, with no gaps at the ends or around blocking;
- the vapour barrier lapped and sealed at its joints, and sealed around every box and bracket;
- no bay closed off at the top by a skylight well or a header without its own path for air.
Our pre-drywall walkthrough post covers the rest of the house at the same stage.
How do you insulate a vaulted ceiling with exposed beams?
A lot of vaulted rooms are finished in tongue-and-groove boards with timber beams below them. Our Post & Beam home plans use decorative Douglas fir and prime painted beams within standard framing, which gives the post-and-beam look without the usual cost and complexity.
For the insulation, that is good news. Because the beams sit within standard framing, the roof is still a framed roof with ordinary cavities, and everything above applies to it.
The board ceiling itself is the catch. Boards move with the seasons and open small gaps at every joint, so they are not an air barrier and were never meant to be. The barrier goes behind them, continuous, before the first board goes up, and every beam bracket that passes through it gets sealed. If you are drawn to this kind of room, our post on planning a post and beam home covers the rest of the design.
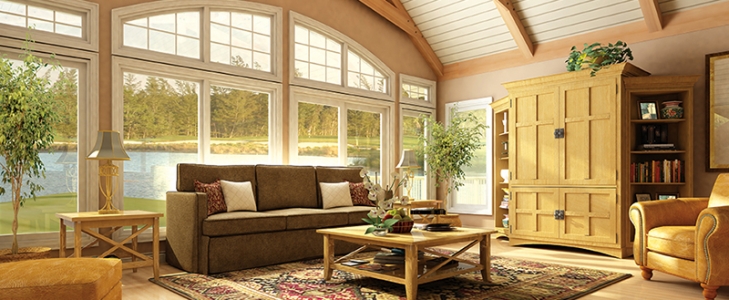
Where to start: before the roof is drawn
Nearly every choice in this post is made at design stage: the rafter size, the roof shape, where the skylights go, vented or unvented, how many fixtures go in the slope. Once the roof is framed, sheathed and shingled, changing any of them means taking some of it apart.
That matches what we tell people building in cottage country: retrofitting insulation, heating and plumbing protection afterwards costs considerably more than specifying them at design stage. A vault is the clearest case of it. On The Carlyle MKIII, a home we built in Oro-Medonte in 2018 with vaulted ceilings and an open great room, the depth of those ceilings was set the day the framing went up. You can see it among our completed projects.
If you are aiming well past the Code minimum, the roof is usually the first place that ambition runs short of room. Our post on net zero homes looks at what that level takes.
So if you are still at the drawing stage and asking how do you insulate a vaulted ceiling, start with the ceiling you want and work back to the roof that can hold it. Pick the rafter depth with R-31 and the air space in mind, decide early whether the roof is vented, keep the number of holes in the slope to the ones you really need, and plan the air and vapour barrier as a continuous layer rather than a sheet to patch around. If you would like to talk through a vaulted room in your own plans, tell us about your project.
Frequently Asked Questions
How do you insulate a vaulted ceiling with no attic?
The insulation goes into the rafter cavities, above the roof deck, or both. A vented roof leaves at least 63 mm of air space above the insulation in every bay, with vents at the eaves and the ridge. An unvented roof fills the cavity up to the sheathing with a material that keeps moist air off the deck, such as closed-cell spray foam, and should be agreed with your designer and building department first.
What R-value does a vaulted ceiling need in Ontario?
Under the prescriptive packages in the Ontario Building Code's SB-12, a ceiling without an attic space needs R-31 nominal (RSI 5.46). A ceiling with an attic needs R-50 or R-60, depending on the package.
Does a cathedral ceiling need to be vented?
By default, yes. The Code requires a vented space above the insulation unless it can be shown to be unnecessary, and its explanatory note says venting is generally still required. An unvented design is possible but is a decision for the design stage, with the building department.
Can you use spray foam in a vaulted ceiling?
Yes. Closed-cell spray foam applied to the underside of the roof deck is a common way to build an unvented roof, because it packs a lot of insulation into a shallow cavity. In Ontario it must be installed to CAN/ULC-S705.2.
Do I need a vapour barrier on a vaulted ceiling?
Yes. The Code requires a vapour barrier on the warm side of any insulated ceiling, along with an air barrier system. Under a vault it matters even more, because any moist air that gets past it goes straight into a narrow roof cavity next to cold sheathing.